Winter bills arrive fast, and the attic is usually to blame. A small, targeted project there can warm rooms and steady your heating Invoice. Here is how a few hours of work change daily comfort.
Insulating the attic: quick work, real comfort
Heat rises, and a leaky roof space lets it escape first. In many climates, losses through the roof can reach 25–30%. As a result, insulation above the ceiling brings the most rapid impact. The change feels immediate on cold evenings.
Most homes have either a “lost” attic or a converted loft. In a lost attic, adding a thick, continuous layer is simple. Aim for at least 30–40 cm of insulation, targeting R ≥ 7 m²·K/W where feasible. This depth reduces drafts, and it also improves summer comfort.
Where heat escapes, and how to stop it
Warm air seeks tiny gaps around hatches, lights, and pipes. Therefore, air sealing before insulating locks in the gains. Use gaskets on the hatch and safe covers over recessed lights. Then add insulation to the recommended level.
« Seal the heat where it rises, and winter feels different. »
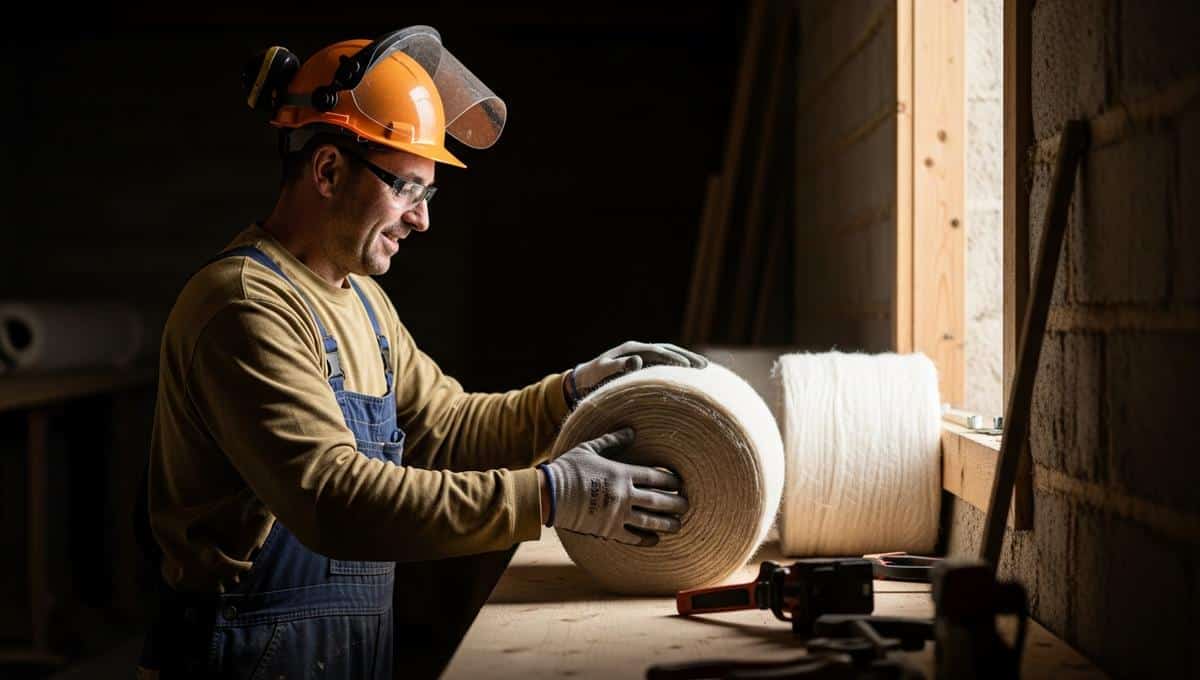
Many crews favor blown mineral wool or cellulose for irregular spaces. The material flows around joists and fills voids evenly. Baffles keep soffit vents open, so the roof can still breathe. That balance prevents moisture build-up over time.
Costs, savings, and your heating Invoice
The work is usually fast, often done in half a day. In many cases, you feel the result the same night. Rebates or grants may reduce out-of-pocket costs, depending on location. In turn, a lower heating Invoice can help the project pay back quickly.
- Seal the attic hatch with weatherstripping and insulation.
- Install baffles to maintain airflow from soffits to ridge.
- Protect downlights with certified covers before blowing insulation.
- Mark electrical junction boxes for future access and safety.
- Top up to the target depth across the entire surface.
Energy agencies often cite sizable gains from attic upgrades. In typical homes, insulation and basic air sealing can cut heating use by 15–25%. Therefore, meter readings should trend down after the project. Keep records to confirm real savings over the season.
Documentation supports warranties and any future incentives. Ask for an installed depth map and material certificates. Photographs of rulers at several points can verify coverage. Also request a clear, line-by-line breakdown on the contractor’s bill.
Materials and methods that protect your Invoice
Mineral wool resists fire and recovers loft well after installation. Dense-pack cellulose offers good coverage and slows air movement. Both options help dampen noise from outdoors. As a result, quieter rooms pair with a calmer monthly Invoice.
To readT. rex: new study shows how a bone-crushing bite and reinforced skull make it an apex predatorBlown products limit thermal bridges across joists. Batts can work in tidy bays, yet gaps reduce their value. For uneven framing, blown insulation tends to perform more reliably. Topping up to around 35–40 cm protects against future energy shocks.
Planning, safety, and next steps before winter
Start with a quick inspection from the hatch. Look for damp stains, sagging ducts, or exposed wiring. If anything seems unsafe, pause and call a qualified pro. Safety first means a smoother day on site.
Good ventilation keeps the roof dry through the seasons. Soffit intakes and a ridge or high vents should stay open. Vapor control belongs at the warm side ceiling, not above the insulation. These small checks protect comfort and your household Invoice.
Prepare the space before crews arrive. Clear storage near the hatch and lay simple walkway boards. Label areas with cables or junction boxes for visibility. As a result, installers can work faster with fewer interruptions.
From estimate to verification
Ask for an in-person survey, not a rough phone quote. A short attic walk reveals depth, gaps, and airflow paths. Therefore, the estimate matches the real scope of work. It also reduces the chance of surprise costs later.
After installation, confirm depth at several markers. Check that vents are free and the hatch is sealed. Then track indoor temperatures during a cold snap. Month by month, compare each Invoice to last year’s baseline.
Why the attic first, and what comes after
The roof is the top of the home’s thermal stack. Improving it stabilizes the whole system below. Therefore, rooms feel more even, and the boiler cycles less. This single project sets a solid base for future upgrades.
Next steps can build on that foundation. Smart thermostats, heating tune-ups, and duct sealing work well after insulation. Window fixes come later, as their impact is smaller per euro. Plan changes in stages to spread cost and effort.
To readFlu spreads more through the air than by touch, new study showsFinally, keep an eye on maintenance. Insulation should stay fluffy, dry, and evenly distributed. If wind or workmen displace it, rake it back to level. With simple checks, comfort stays high and so does control over your Invoice.
Crédit photo © DivertissonsNous