If your kitchen feels a little plain, a simple upgrade to your wall shelves can change everything. In 2026, one décor trick is spreading fast across social media and home-design blogs: covering open shelving with green mosaic tiles. This approach turns basic storage into a true visual statement, and it costs far less than a full renovation.
Why green mosaic tiles are the trend everyone copies in 2026
Open shelving has been popular for years, yet many homeowners struggle to make it look polished. Plain wooden planks can feel unfinished, especially in a kitchen filled with colorful dishware and spices. As a result, creative DIYers started wrapping their wall shelves in small mosaic tiles to add depth and texture.
Green, in particular, brings a fresh and organic energy to cooking spaces. Shades like sage, emerald, and olive pair well with natural wood, white cabinetry, and brass hardware. Moreover, the reflective surface of glazed mosaic catches light beautifully, making even a small kitchen appear brighter.
This trend first gained traction on French home-décor platforms, where designers showcased tiled shelving as an affordable luxury. By early 2026, the idea had crossed borders and inspired thousands of weekend projects. The appeal is clear: a single accent detail transforms the entire room without heavy construction.
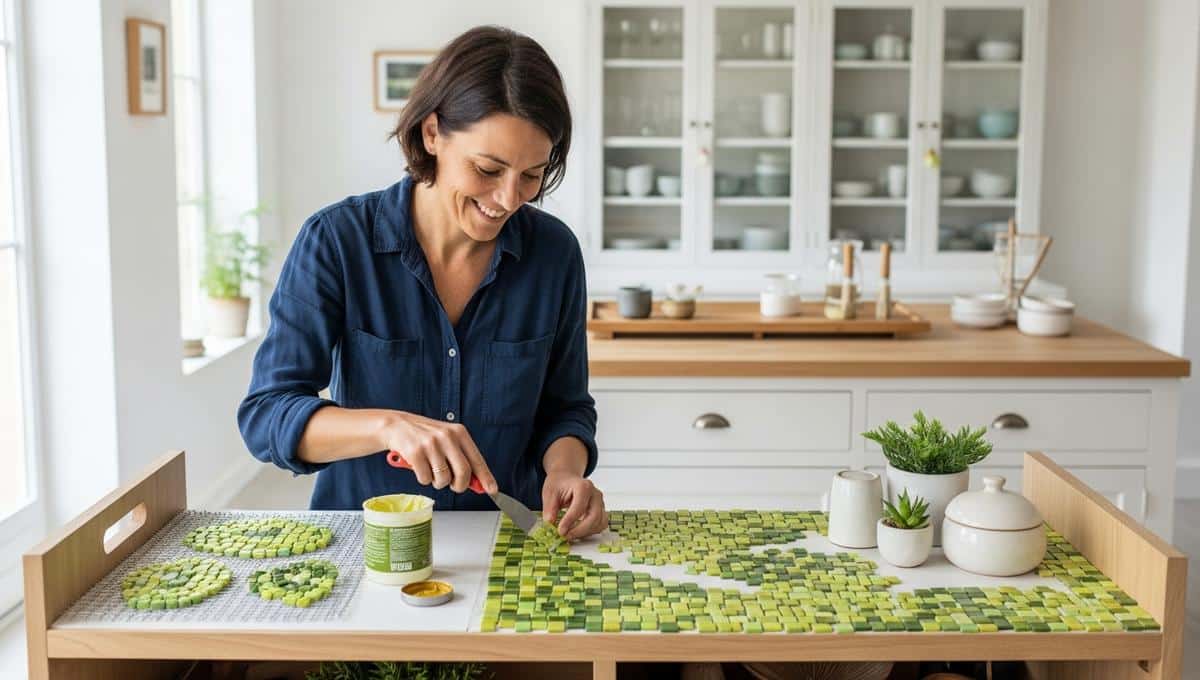
« A few sheets of mosaic tile and a free afternoon can give your kitchen the custom look of a designer space — no contractor needed. »
Materials you need before you start
The supply list is short and budget-friendly. For the shelf structure, you will need ½-inch plywood and 2 × 2-inch wooden battens. These provide a sturdy base that can bear the weight of dishes, jars, and small appliances without bowing over time.
To readCurtains: This Simple Change in Your Living Room Can Stop Up to 30% of Heat Loss This WinterFor the decorative layer, pick up green mosaic tile mats, which come pre-mounted on mesh sheets for easy handling. You will also need wood glue to assemble the frame and mosaic adhesive applied in a thin, even coat to bond each tile sheet. In addition, grab a tub of pre-mixed grout to fill the seams, plus an extra-fine smoothing compound — available for roughly €33 — to achieve a clean finish on exposed edges.
Finally, apply a wood-rated waterproof undercoat before tiling. This sealant protects the plywood from moisture, which is critical near sinks and stoves. Once all materials are gathered, the actual build can happen in a single weekend.
Step-by-step guide to building mosaic wall shelves
- Cut plywood panels to your desired shelf width and depth.
- Attach wooden battens along the back edge for secure wall mounting.
- Seal every exposed wood surface with the waterproof undercoat.
- Spread mosaic adhesive and press tile mats onto the top, bottom, and sides.
- Fill gaps with pre-mixed grout, then wipe away excess with a damp sponge.
Start by measuring the space where your wall shelves will hang. Precision here prevents frustration later, so double-check each cut before assembling. Secure the battens with wood glue first, then reinforce with screws for extra hold.
Next, brush the waterproof undercoat onto every surface, including hidden edges. Let it dry fully — at least the time recommended on the product label. Skipping this step risks warping and mold growth behind the tiles, especially in a humid kitchen environment.
Once sealed, apply a thin layer of mosaic adhesive to one section at a time. Press each tile mat firmly and use a rubber float to eliminate air pockets. Work from the center outward so the pattern stays aligned. After the adhesive sets for 24 hours, spread the pre-mixed grout across all joints using a flexible spatula.
Wipe the tile surface gently with a damp cloth to remove haze before the grout hardens. Then smooth any rough plywood edges with the extra-fine compound. This final touch gives the shelves a polished, almost factory-made appearance that belies their DIY origin.
Common mistakes to avoid during installation
One frequent error is using too much adhesive. A thick layer takes longer to cure and can cause tiles to slide before they bond. Instead, aim for a coat no thicker than 3 mm. Consistency matters more than quantity here.
Another pitfall involves skipping the waterproof undercoat. Without it, kitchen steam seeps into the plywood and weakens the glue over months. Consequently, tiles may pop off and grout can crack. A few extra minutes of prep saves hours of future repair.
Mounting also deserves attention. Heavy mosaic-covered wall shelves need anchors rated for their total weight. Standard drywall plugs may not suffice, so use expansion bolts or toggle anchors if your walls lack studs at the right spacing.
Design variations to make the look your own
Green mosaic is the star of this trend, yet it is not the only option. Some homeowners choose deep blue or terracotta tiles for a Mediterranean vibe. Others mix two shades of green — matte and glossy — on alternating shelves to create a subtle contrast. The method stays the same regardless of color.
To readYour Fridge Uses Too Much Energy: This Common Storage Mistake Blocks Cold Air From CirculatingYou can also vary the tile shape. Penny-round mosaics lend a retro feel, while elongated subway-style chips look sleek and modern. Hexagonal pieces, on the other hand, add a geometric punch that pairs well with minimalist kitchens. Each shape changes the grout pattern, which alters the overall texture of your wall shelves.
For a bolder statement, consider tiling only the shelf underside. When lit from below with LED strip lights, the mosaic glows softly against the wall. This technique works especially well above a kitchen island or breakfast bar, where the underside is always visible.
Regardless of the style you pick, the core benefit remains: a small, low-cost material upgrade delivers a dramatic visual payoff. In 2026, wall shelves wrapped in mosaic tile prove that impactful design does not require a massive budget or professional help. With the right materials and a clear plan, anyone can pull off this kitchen transformation over a single weekend.
Crédit photo © DivertissonsNous